Avoid Costly Surprises: Use This HVAC Inspection Checklist Before Buying a Home
Reading Time: 5minutes
Summary
Get the Ultimate Checklist for a Stress-Free Move! Discover the importance of a thorough HVAC inspection before moving into a new home. Our expert insights and valuable tips will help you avoid costly repairs and ensure a comfortable living space. Don't miss out on the key to a worry-free move!
Moving into a new home is exciting, but before you get too comfortable, take a closer look at the heating and cooling system. An hvac inspection checklist is one of the smartest tools you can use as a homebuyer. It can uncover issues that might not show up during a regular home inspection and save you from expensive repairs or unexpected utility bills later.
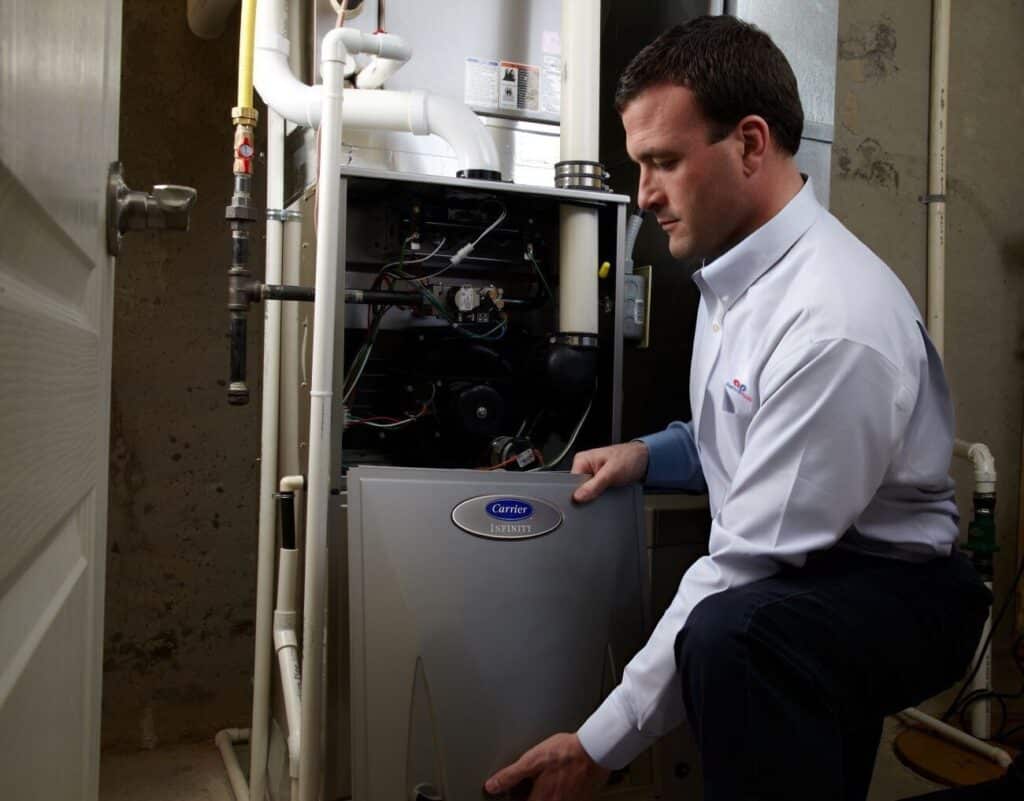
A professional HVAC technician can give you the most accurate picture of the system’s health, but even if you’re just walking through a home before making an offer, you can use this checklist to spot warning signs and ask the right questions.
Step 1: Check the Age, Condition and Brand of the System
One of the first items on any hvac inspection checklist is to figure out how old the equipment is. Many sellers don’t have that information handy, but you can usually find the manufacture date on a label inside the unit.
Typical lifespan: Most HVAC systems last 15–20 years. If the system is close to or past this range, you should plan for replacement soon.
Visible wear: Look for rust, corrosion, water stains, or oil spots around the unit. These can indicate hidden leaks or long-term neglect.
Noise: A healthy HVAC system shouldn’t rattle, bang, or screech. Loud noises during operation often point to worn parts or airflow issues.
Service history: If possible, ask the seller for maintenance records. A system that’s been regularly serviced can last much longer than one that’s been ignored.
Brand: Make sure the brand of the HVAC system is one you know and trust. We highly recommend Daikin, Goodman, and Carrier brands. If the brand name doesn’t have a great track record, you may want to get the opinion of an HVAC professional before negotiating the final price of the home.
Real-world examples: Because we offer HVAC maintenance plans, we see old but beautiful HVAC systems every day. We maintain 12, 15 and even 18 year old systems that perform well for their age because of their regular maintenance and cleaning. On the flip side, we get called out to lots of young units that have stopped working well before they should because they haven’t had any regular care. Age alone doesn’t tell the whole story—condition matters just as much.
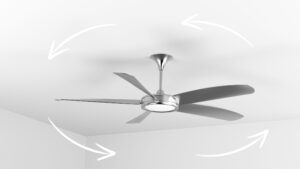
Step 2: Evaluate Airflow and Distribution
Airflow is critical to comfort and efficiency. A thorough hvac inspection checklist always includes checking how air moves through the house.
Ductwork condition: Peek into accessible ducts or ask your inspector to check for gaps, disconnected joints, or crushed sections. Poorly sealed ducts can leak up to 30% of the air you’re paying to heat or cool.
Cleanliness: Excess dust, debris, or pest evidence inside ducts can hurt air quality and strain the system. If the home hasn’t had its ducts cleaned in years, factor that into your budget.
Air balance: Walk through the home with the system running. Are some rooms cooler or warmer than others? Inconsistent airflow could mean blockages, leaks, or poor system design.
Tip: bring a small tissue with you during the walkthrough. Hold it up to the supply vents to see if there’s good airflow. If the tissue barely moves, it’s worth a closer look.
Step 3: Test the Thermostats
Your thermostat is the “brain” of the system. If it isn’t working correctly, you won’t get consistent comfort.
Response time: Adjust the temperature and listen for the system to kick on within a minute or two.
Accuracy: Compare the reading on the thermostat to a separate thermometer. A few degrees off can mean wasted energy and uneven comfort.
Programmable features: If the home has smart or programmable thermostats, check that they’re set up correctly. Many homeowners never update old schedules after moving, so you might inherit inefficient settings.
An hvac inspection checklist that includes thermostat testing helps prevent small frustrations from turning into big energy costs.
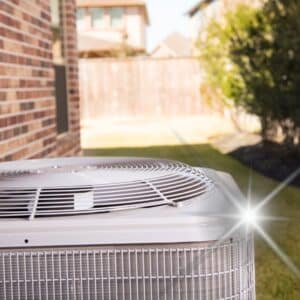
Step 4: Review Efficiency and Energy Use
Even if the system runs, that doesn’t mean it’s efficient. An outdated or oversized unit can run up your utility bills.
SEER rating: Ask about the Seasonal Energy Efficiency Ratio. Newer systems often have ratings of 15 or higher, while older ones may be 10 or less. The difference can mean hundreds of dollars a year.
Operating effort: If the system runs constantly just to maintain temperature, that’s a sign of declining efficiency.
Filter condition: Pull out the air filter. A clogged filter chokes the system and can lead to breakdowns. If it looks like it hasn’t been changed in months, that may reflect overall neglect.
Tip: Ask the seller for a copy of recent utility bills. Comparing bills to similar homes in the area can give you an idea of how efficient—or inefficient—the system really is.
Step 5: Don’t Overlook Safety
Beyond comfort and efficiency, safety should always be part of an hvac inspection checklist.
Gas leaks: A professional technician can test for leaks around furnaces or gas lines.
Carbon monoxide: Older systems or those with cracked heat exchangers can leak CO, a serious health hazard.
Electrical issues: Frayed wires or loose connections can create fire risks.
These aren’t things most homeowners can spot on their own, which is why hiring a licensed HVAC technician for an inspection is so important.
Step 6: Pay Attention to Extras and Upgrades
Today’s HVAC systems often include add-ons like air purifiers, humidifiers, or smart zoning controls. A good hvac inspection checklist should cover these, too.
Check that add-ons are working properly, not just installed.
Look at the age and maintenance of accessories—filters, UV bulbs, or humidifier pads often need regular replacement.
Decide if the extras add real value or if they’re features you won’t use.
FAQs About a New Home HVAC Inspection
How often should I schedule an HVAC inspection? Most experts recommend twice a year—spring for cooling, fall for heating.
Can I do the inspection myself? You can spot obvious signs, but a professional HVAC technician has tools to check refrigerant levels, safety systems, and airflow in ways you can’t.
What happens if I skip the inspection? You might move in only to find the system fails within months. That could mean thousands in repair or replacement costs right after buying your home.
How long does an HVAC inspection take? Usually 1–3 hours depending on the size of the home and number of systems.
Why This HVAC Inspection Checklist Matters
Buying a home is one of the biggest investments you’ll ever make. Using an hvac inspection checklist protects that investment by giving you a clear picture of your heating and cooling system. It helps you spot small issues before they turn into big repairs, ensures your family’s safety, and sets you up for lower energy costs in the long run.
At the end of the day, an hvac inspection checklist isn’t just paperwork—it’s peace of mind. It means moving into your new home with confidence, knowing the air will be clean, the system will be reliable, and comfort won’t come with surprise expenses.